MY SELF TANNING STEPS & TIPS
There is little that uplifts my *superficial* spirit as much as a good tan, a fake one, obviously. I’m not going to harp on about sun damage here, as you all know how strongly I feel about this, but instead I am going to speak about the ultimate fake tan guide to ensure it looks as natural and glowy as possible.
I have to start off by saying that fake tanning is sadly not foolproof and does require a fair amount of sessions before you really feel confident. Although, having said that, don’t be scared off. You can absolutely nail it first time ’round, it just might require a little more TLC.
STEP ONE: HAIR REMOVAL AND EXFOLIATE
This can be done the day before you plan to apply your tan, this is usually advised but I’ve also exfoliated on the same day and it’s been fine. It’s the shaving part that can potentially cause sensitivity (like deo directly after shaving).
The exfoliating needs to be thorough and not overly rough. A lot of exfoliating products can ‘scratch’ the skin, so be careful of that. My personal favourite method for this is body wash and exfoliating gloves from Sorbet/Clicks. Cheap and effective! Go gentle though, you don’t need to be making the skin raw. If you prefer a scrub, then, by all means, go ahead, it is just very important to note that a lot of scrubs have oil in them, and this is the one time where we do not want those hydrating oils. These will disrupt your tan.
STEP TWO: SHOWER ON THE DAY OF
If you choose to shave and exfoliate on the day before, then be sure to shower just before you apply your tan. This is vital to ensure all natural oils (or oils from any products) are removed off the skin. You want your skin to be totally cleansed of any of this, so I find using Dove soap most effective. Nothing special to do other than give yourself a good ol’ wash with a nice bar of soap – you want to be squeaky clean 🙂 Literally. Do not apply deodorant when applying self-tan.
STEP THREE: *MINIMAL* MOISTURISING
This is quite a crucial step, in my opinion, and really is a minimal amount of moisturiser! Seriously. I take a pea-sized amount of a very basic, non-greasy moisturiser. Keep in mind that you still want your self-tan to penetrate this moisturiser, this is just to create a barrier on the ‘harder’ skin that generally absorbs too much tan (i.e those dreaded orange ankles and hands!).
Think of this step as hydrating those areas of skin so they aren’t too thirsty, and don’t drink up all the tan. The areas I rub (MINIMAL) moisturiser into are: elbows, feet, hands (palms and top of hands), knees, underarms. Product-wise I use something that is ‘thin’ in consistency. No body butter-like formulas.
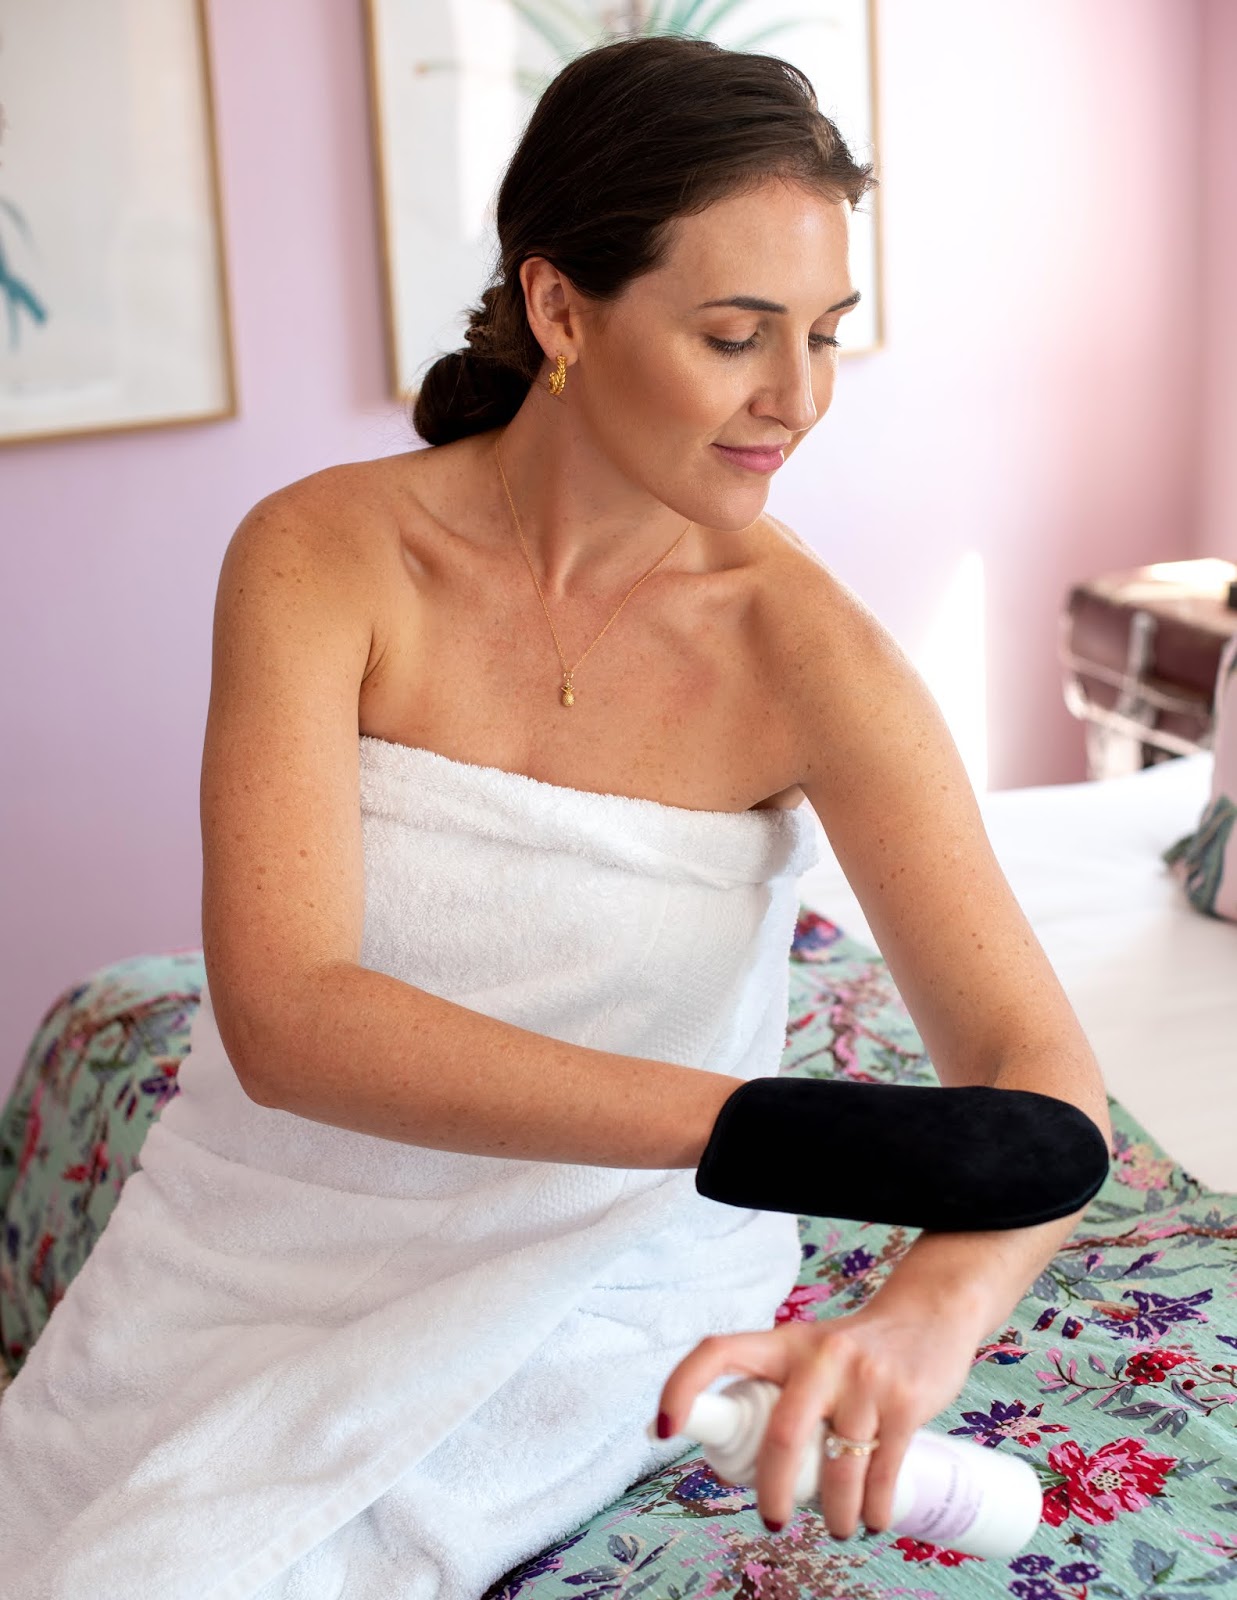
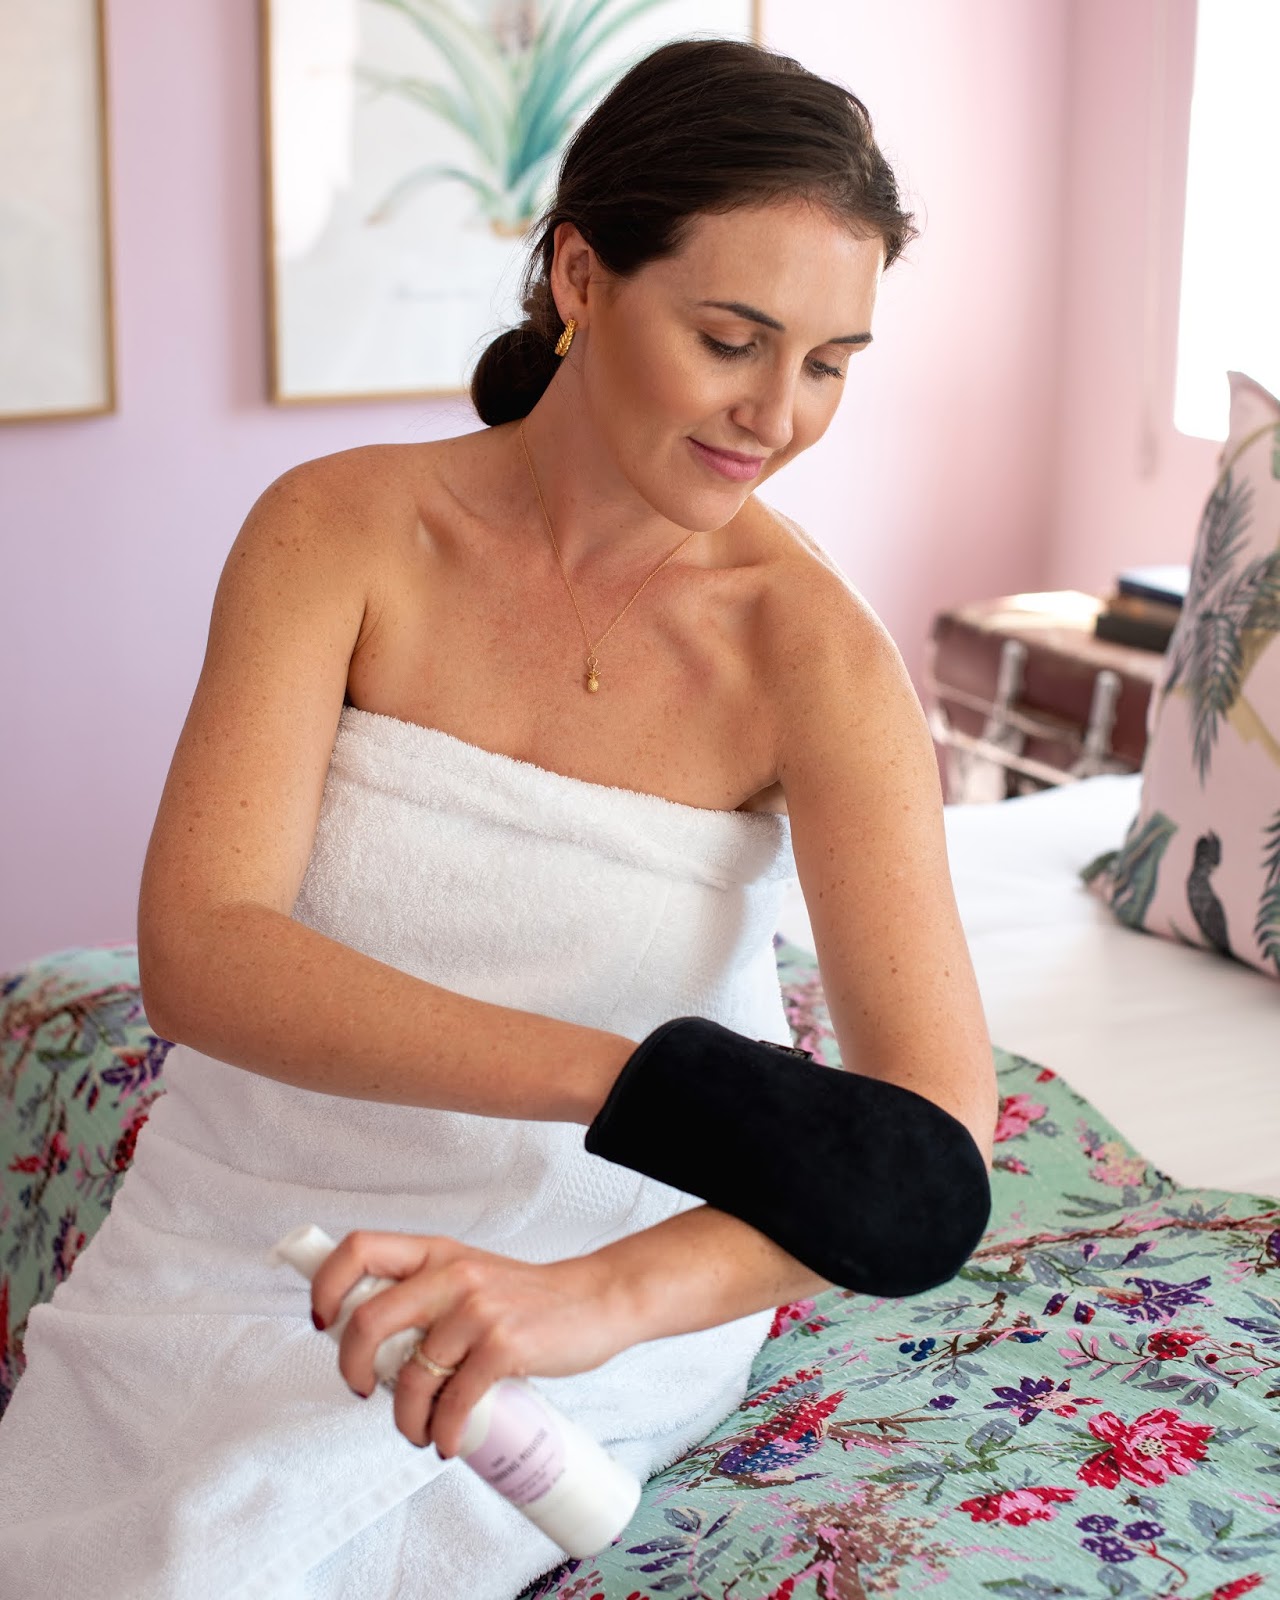
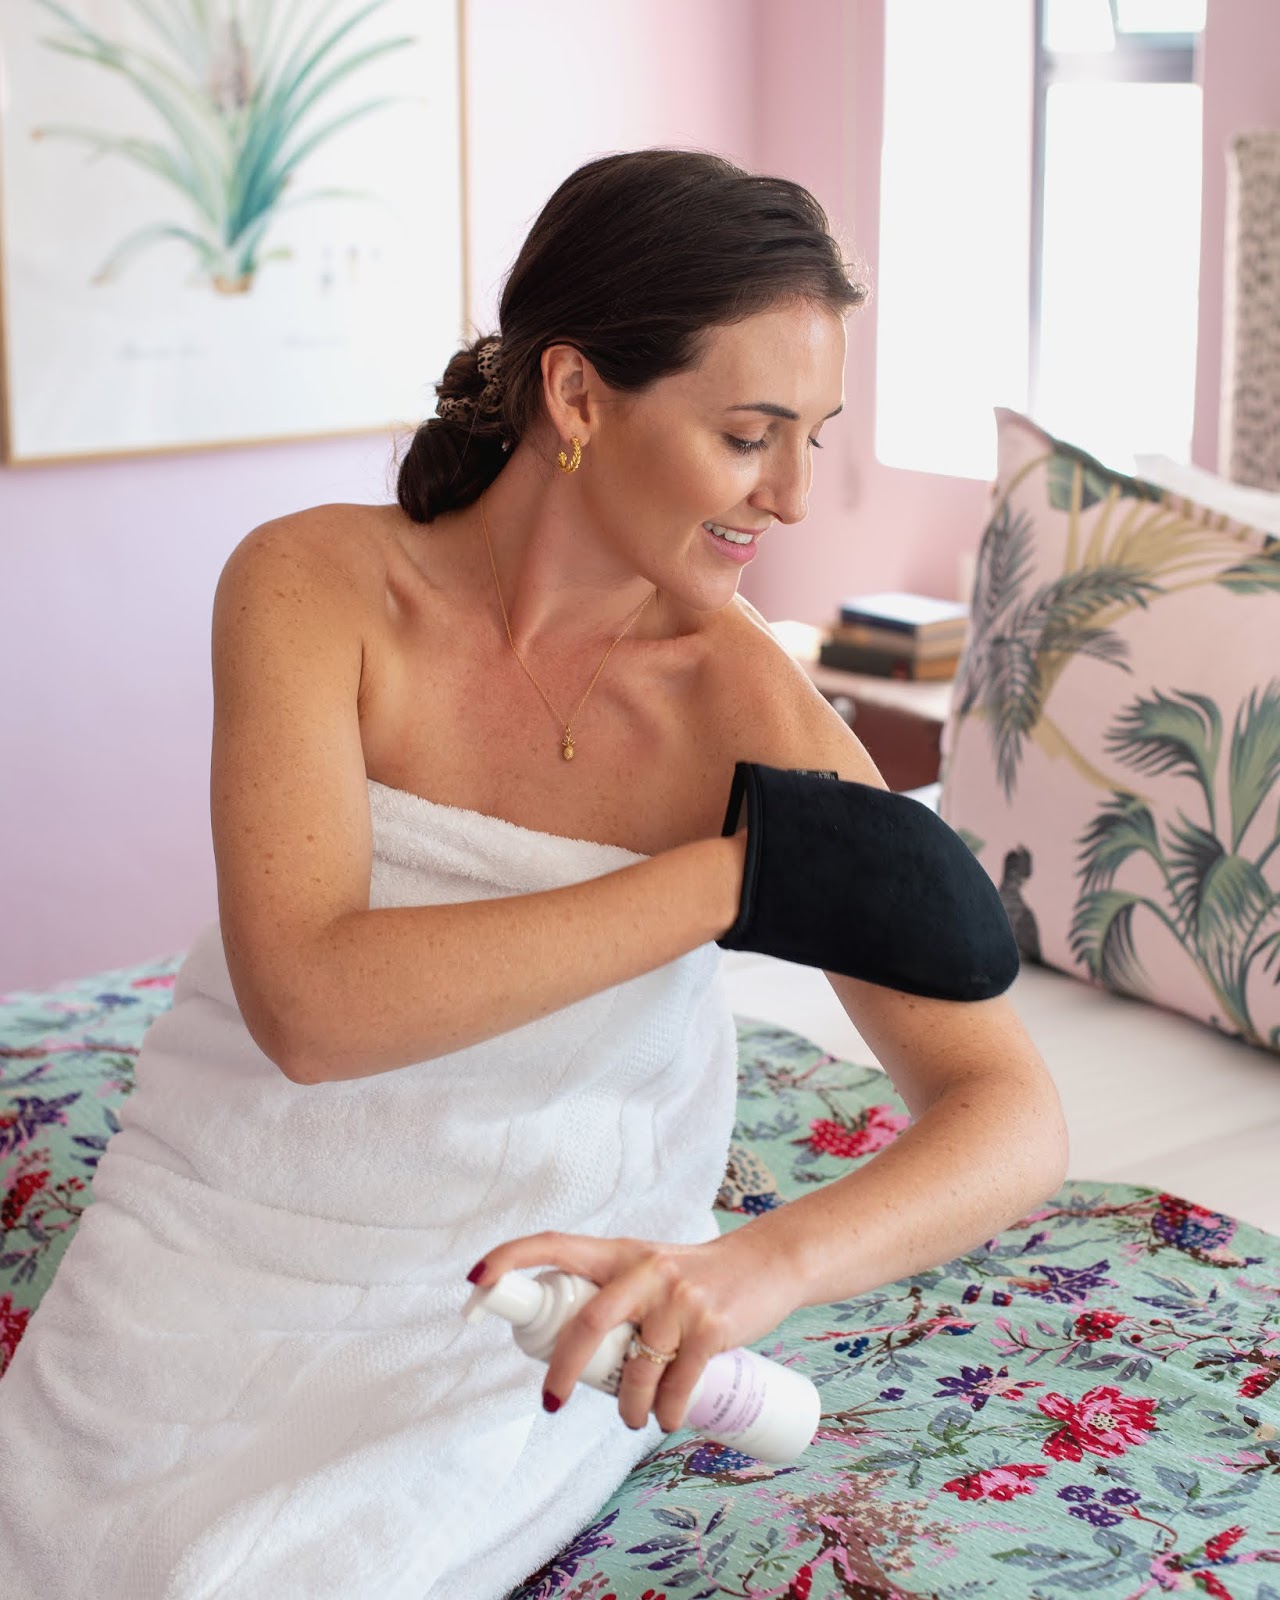
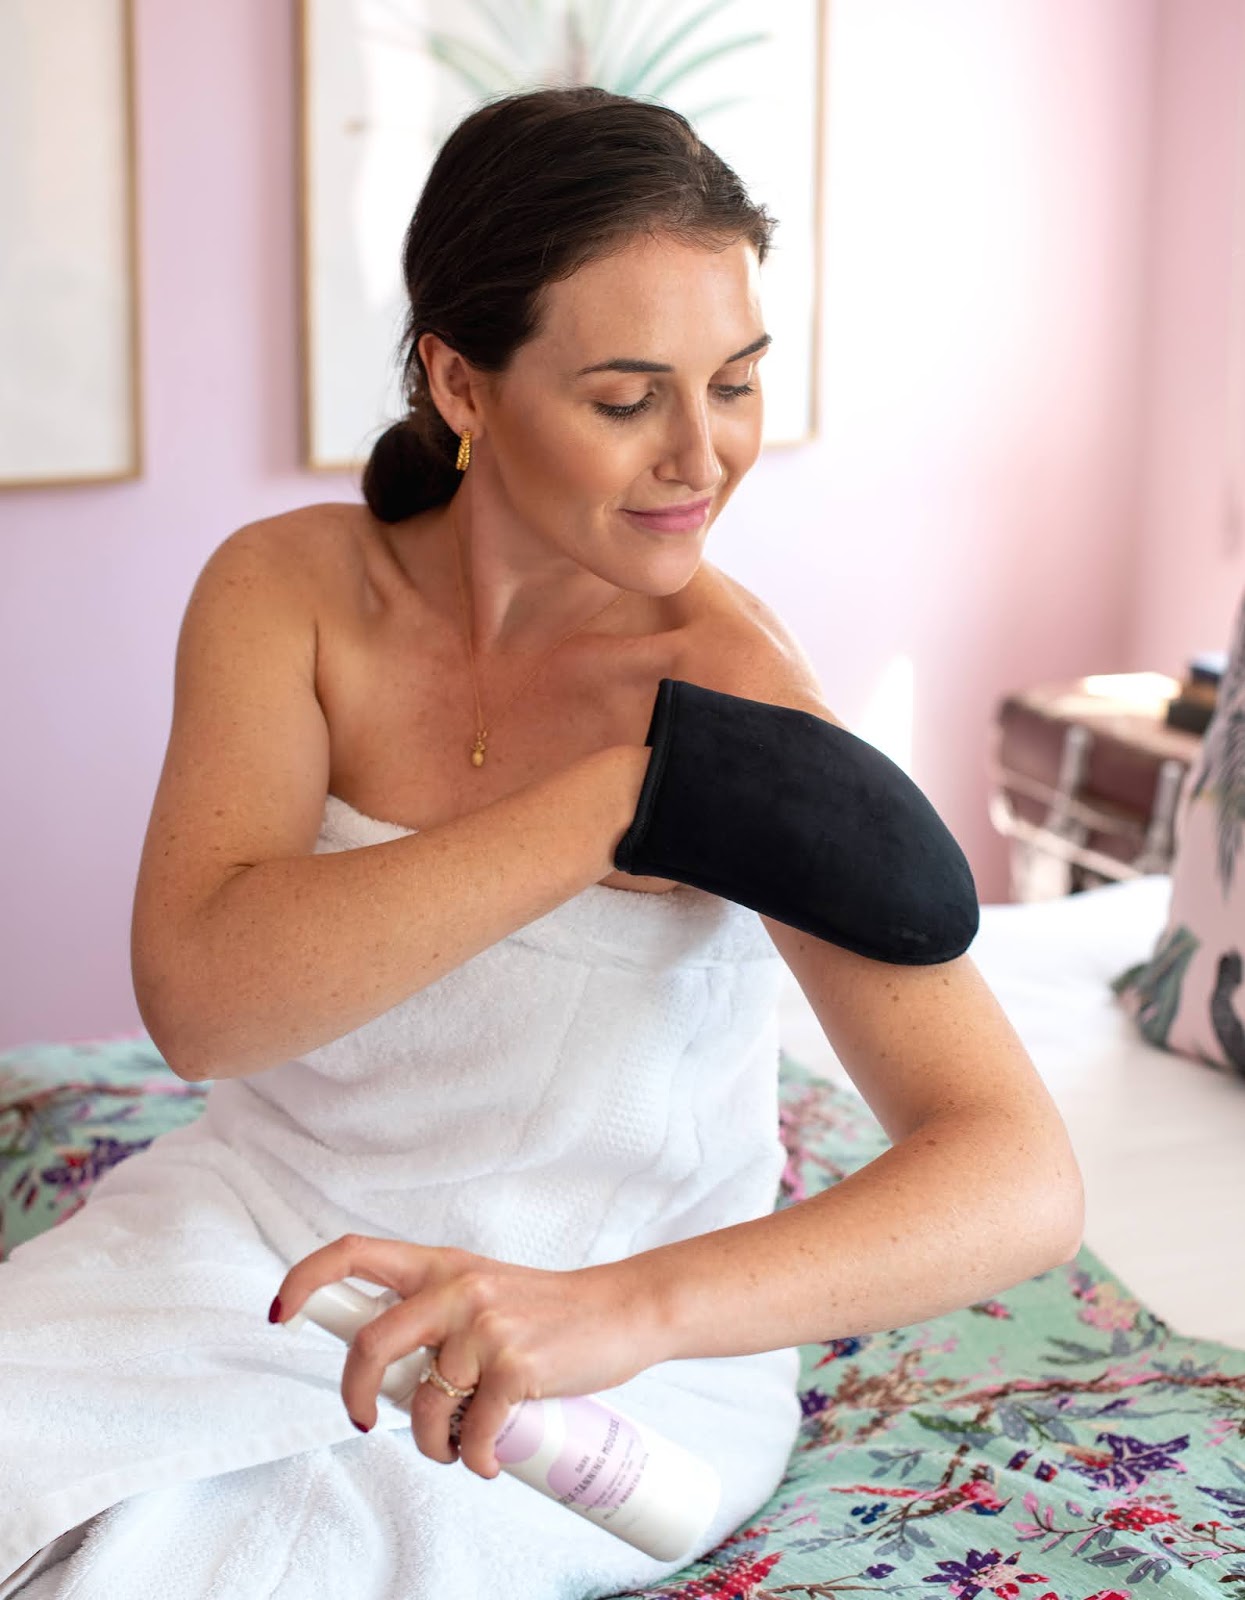
STEP FOUR: APPLICATION
So you have showered (squeaky clean), minimally moisturised certain areas and now you are ready to apply your tan! A mitt is key for a smooth, even application. These can be bought from most self-tan brands, else there are much cheaper ones at most pharmacies that sell self tans. I have to say, I much prefer my high-end mits. I got one from Loving Tan ages ago and it’s my personal favourite. Although I also own a Skinny Tan one (this also dates way back) and it’s pretty good! I like the velvet-textured ones that don’t have plastic on them. They are less scratchy and create a much easier application.
Right, let’s start!
1) Start from the feet and work your way up – this avoids creases on your tummy area when you are bending down to apply
2) Pump your tanner directly onto the mit and start in the middle area of that section (ie start mid-calf as opposed to at your feet – you don’t want that much product on that area)
3) Work the tan in vigorously. This is where you need to be thorough and not ‘too precious’. Ensure you cover all areas and rub in circular motions – literally as you would your normal body cream. Just a tad more fastidiously.
4) The back area is tricky and you can get your partner to help. To be dead honest, I don’t even bother with my back, ever. Unless I am wearing a backless dress to a wedding or something, which happens about once every few years. There are applicators specifically for self-tan application on your back. Here’s an example if you are really committed to the cause.
5) Once you have finished applying your tan – let yourself dry – ideally standing naked in front of a fan, or just not having anything touch your skin. This should be for about 10min.
6) Get clothed and let the tan get to work. I always wear something black (or dark) and baggy. Self-tan usually takes 8 hours to develop.
STEP FIVE: SHOWER AND AFTERCARE
After eight hours, you can hop in the shower and pretty much go about your routine as per normal. Just avoid exfoliation and anything too oily hydration-wise.
GENERAL THINGS TO NOTE
Self-tan lasts around 5-8 days, depending on the after-care. When it’s started to look a tad flakey, reach for your exfoliating gloves.
Finding the right tanning product for you is very dependent on your natural skin tone – it will take a bit of trial and error to find the one product for you. What looks good on one skin tone can differ hugely on another.
If you are a newbie – please rather go for a lighter shade and ideally get a product that has a tint in it. This allows you to see which areas you have applied to. Keep in mind, this tint will wash off in the shower the next morning. It isn’t your tan being washed away, don’t fret 🙂
SOME PERSONAL FAVES
I personally go for mousse formula’s (just my preference)
Isle of Paradise Mousse (Medium) – not available in SA (from Boots, UK) – great colour pay-off and not orange
Isle of Paradise Self Tanning Drops (Medium) – these are brilliant. Add to a body cream or face cream (the more drops you add, the darker you go)
Clarins Self Tanning Milky Lotion – great starter one if you a newbie, it’s subtle and incredible
Vita Liberata Phenomenal Mousse (Dark) – available in SA. Great product, pricey
Tan Luxe Self Tanning Drops – available internationally and at Skins Cosmetics locally. You add a few drops to your usual face moisturiser for a sun-kissed glow
Clarins Liquid Bronze Self Tanning For Face – discontinued in SA, available internationally though
There are loads of other brilliant brands, this is just what I have personally tried and enjoyed.


Love this. Thank you ?
LOVE this my friend – I have always used the Garnier spray fake tan from the UK – I have been lucky enough to have someone top me every year since I left London in 2008! But now during lockdown, I have just finished my last spray and had to buy a local one from Dischem… It's the first time I've used a mousse and a mitt and I am super happy. I bought the Le Tan mousse x